Greenhouse construction tutorial. How to JDPShack. Directions part 6.
John Pandrea
ALWAYS WEAR SAFETY GLASSES, EAR PROTECTION, WORK GLOVES WHEN HANDLING METEL AND A DUST MASK WHEN DIGGING HOLES, MIXING CEMENT and CUTTING or DRILLING.
How to JDPShack
Construction directions continued…
Steps 251-274
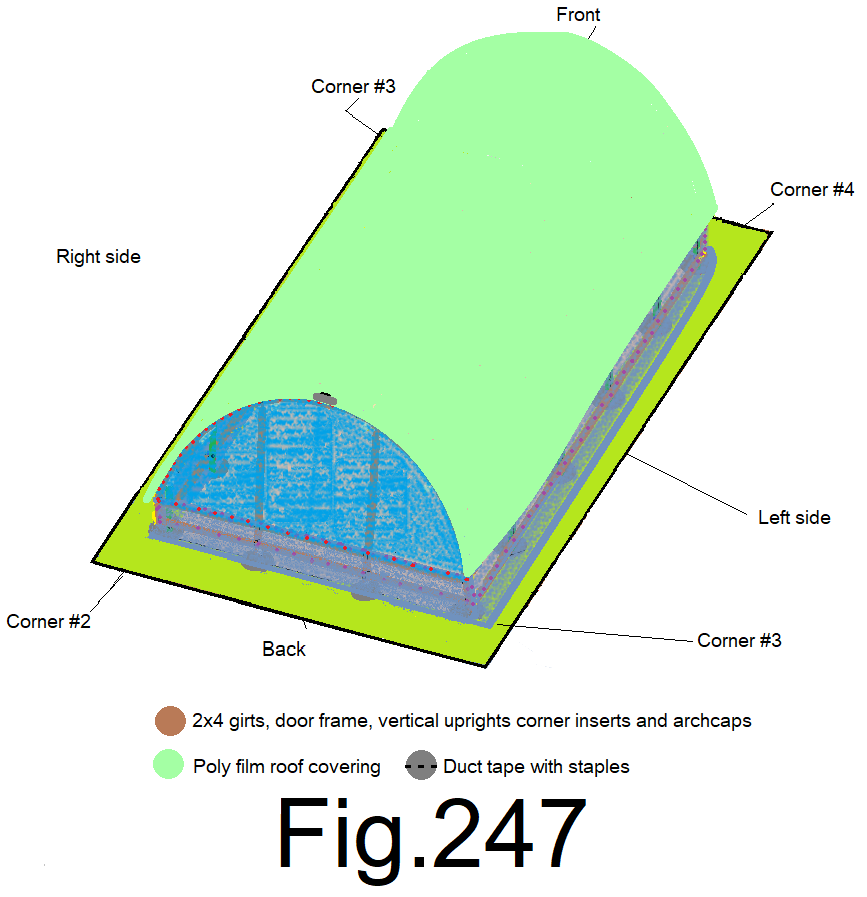
251) Let the poly film relax and evenly attach a 6 in. peace of duct tape to the top center of the poly film just to the outside of the marked line. Fig 247
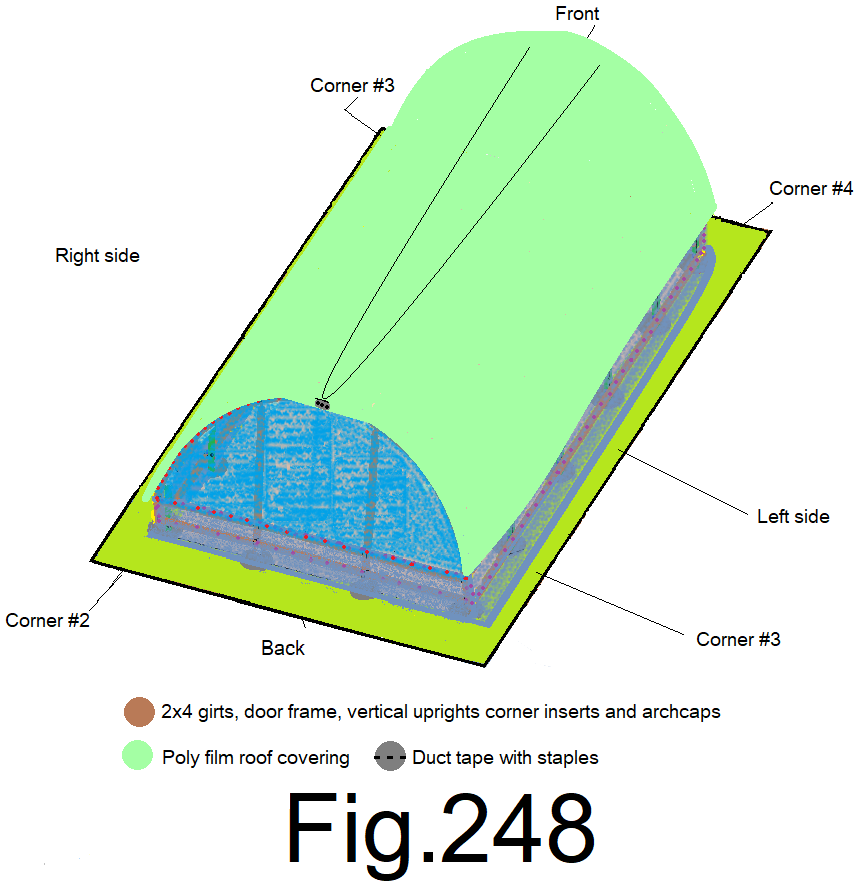
252) With one hand, pull the poly film straight out and then down over the back end wall cap and then while holding tension on it and in position with the edge of tape and ink mark lined up with where the poly film bends over the arch cap, staple, one staple at the center of the tape, one staple on the right side of the tape, and one staple on the left side. Fig 248
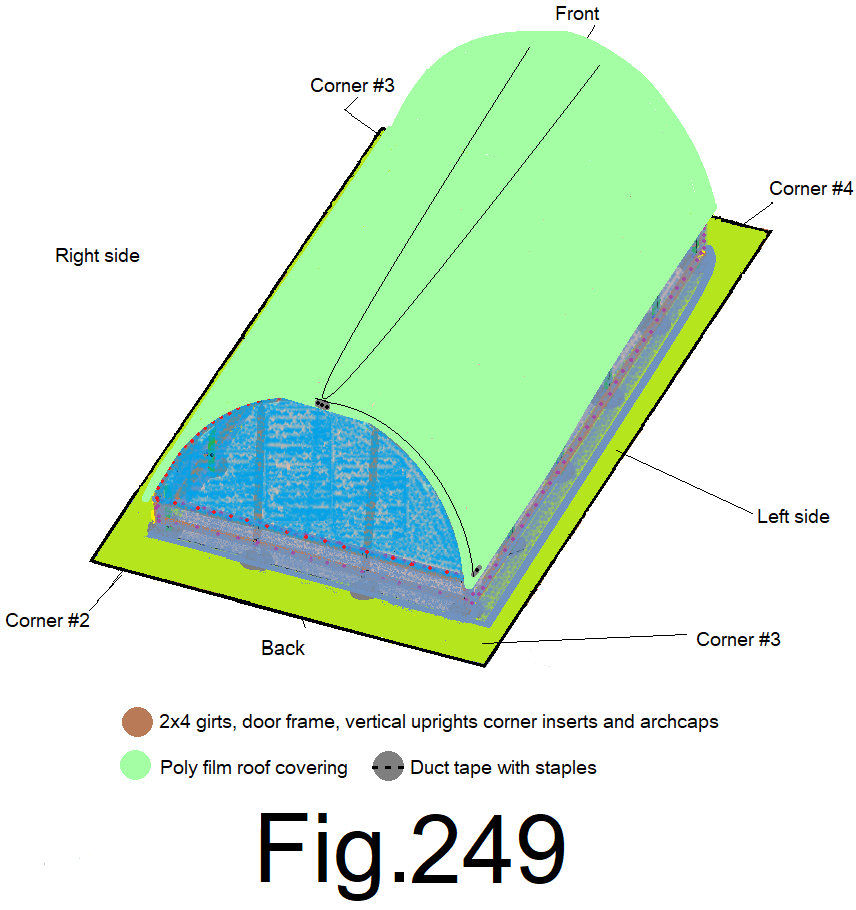
253) At the back end wall, at the left side corner, with one hand, lift the poly film up and down in a gentle flapping motion to settle the poly film on the roof frame, then gently tension the poly film straight down and slightly toward the back and mark a 6 in. line on the poly film where it meets the top edge of the left side top girt. Let the poly film relax and attach a 6 in piece of duct tape just below the line on the poly film. Gently tension the poly film again and staple at the center of the tape to the top left side girt. Fig 249
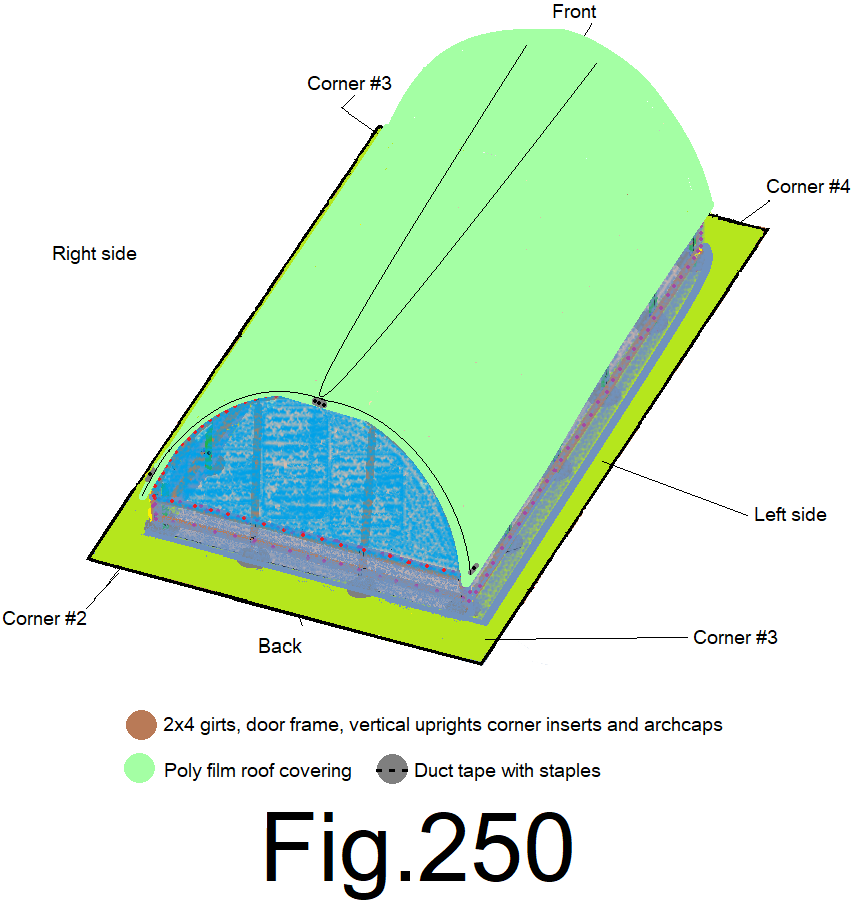
254) Repeat step 253), at the other corner of the back end wall. Fig 250
255) At the back end wall, start at the top center of the end wall cap, make a 6 in. cross mark on the poly film approximately every 1 ft. down along the end wall cap to the left corner. Repeat from the top to the right corner. Fig 251
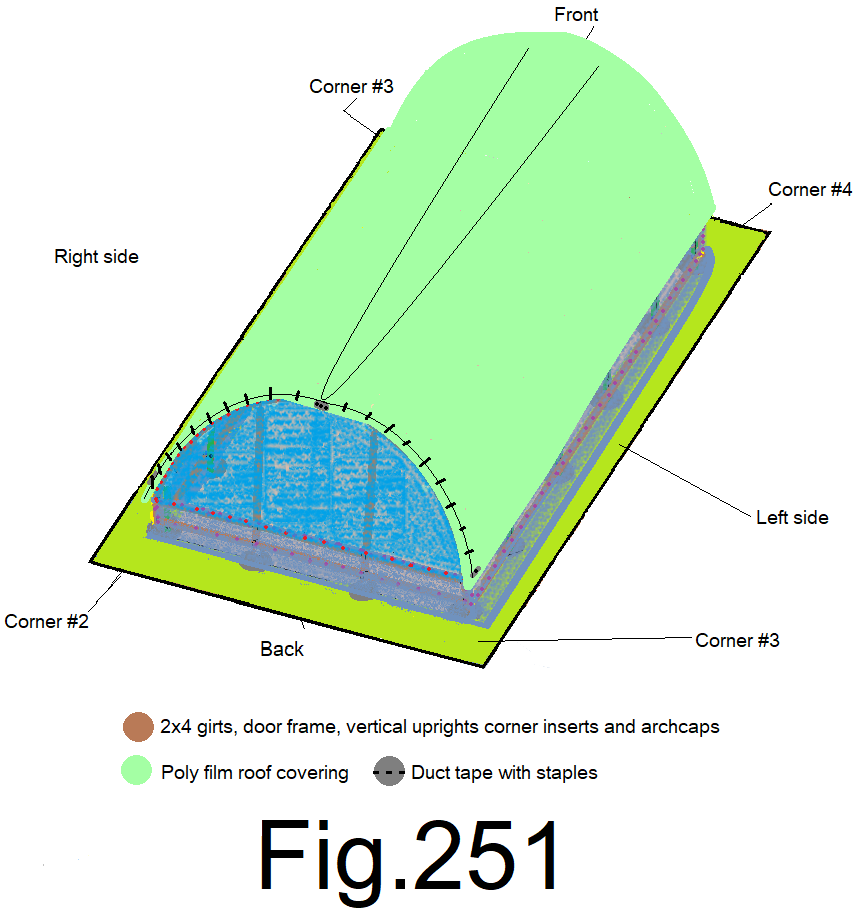
256) At each mark, with one hand, gently tension the poly film straight back and slightly down and mark a 6 in. line along the top edge of the arch cap where the poly film bends over the outside corner edge of the arch cap, centered on the mark from step 255). Fig 252
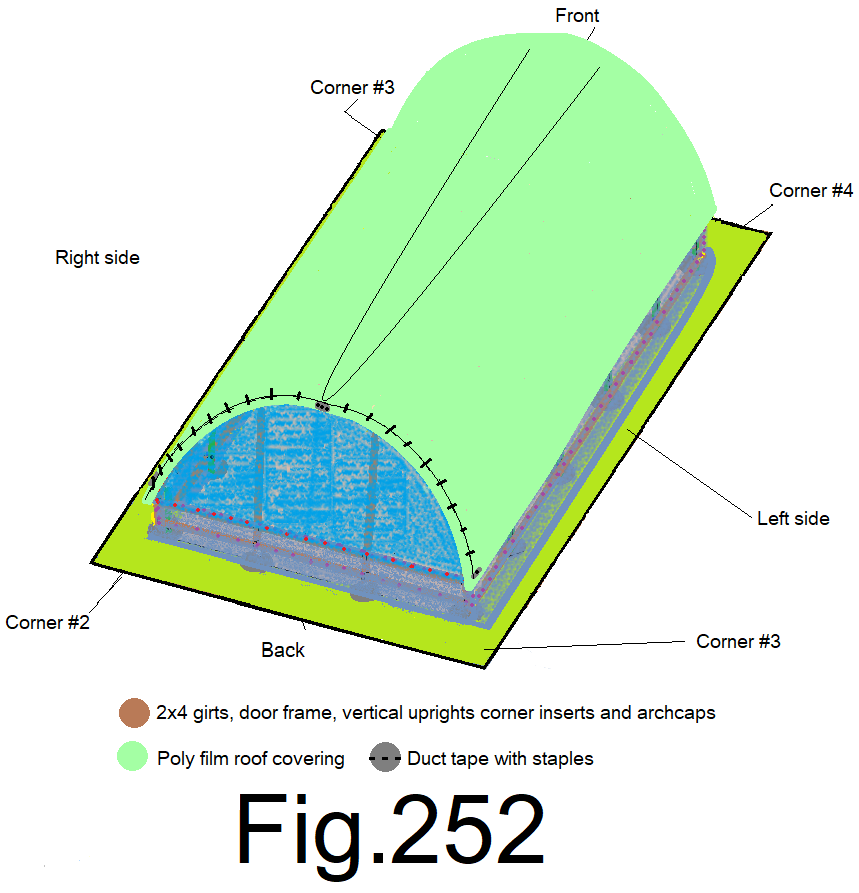
257) Attach a 6 in piece of duct tape to the poly film just outside of each marked line along the top back edge of the back end wall. Fig 253
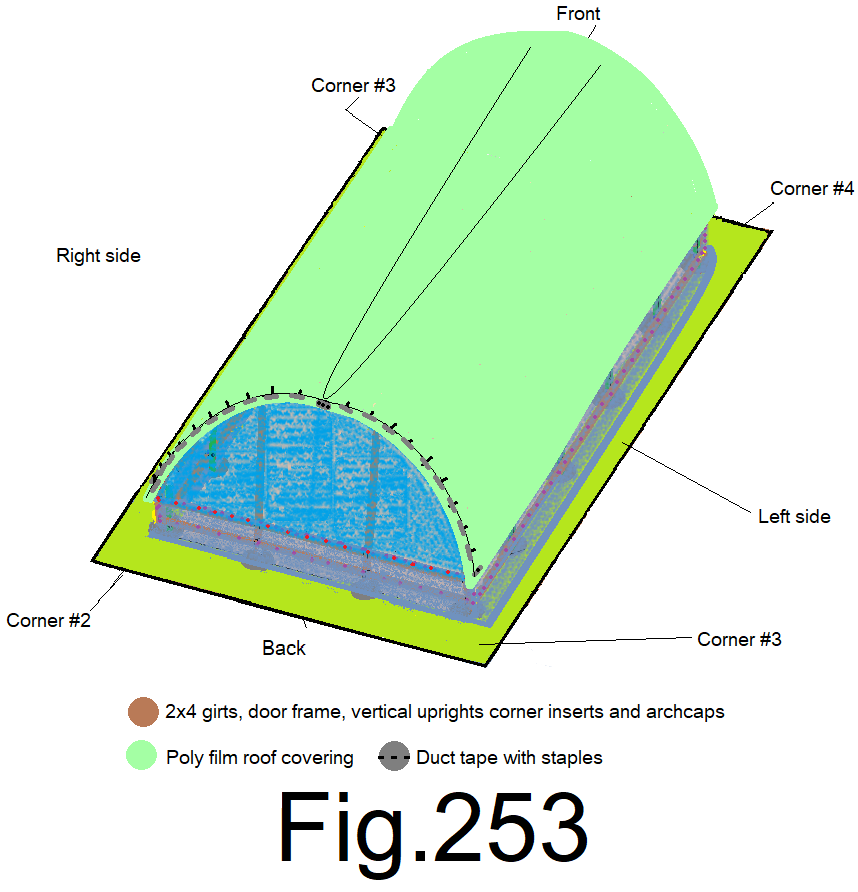
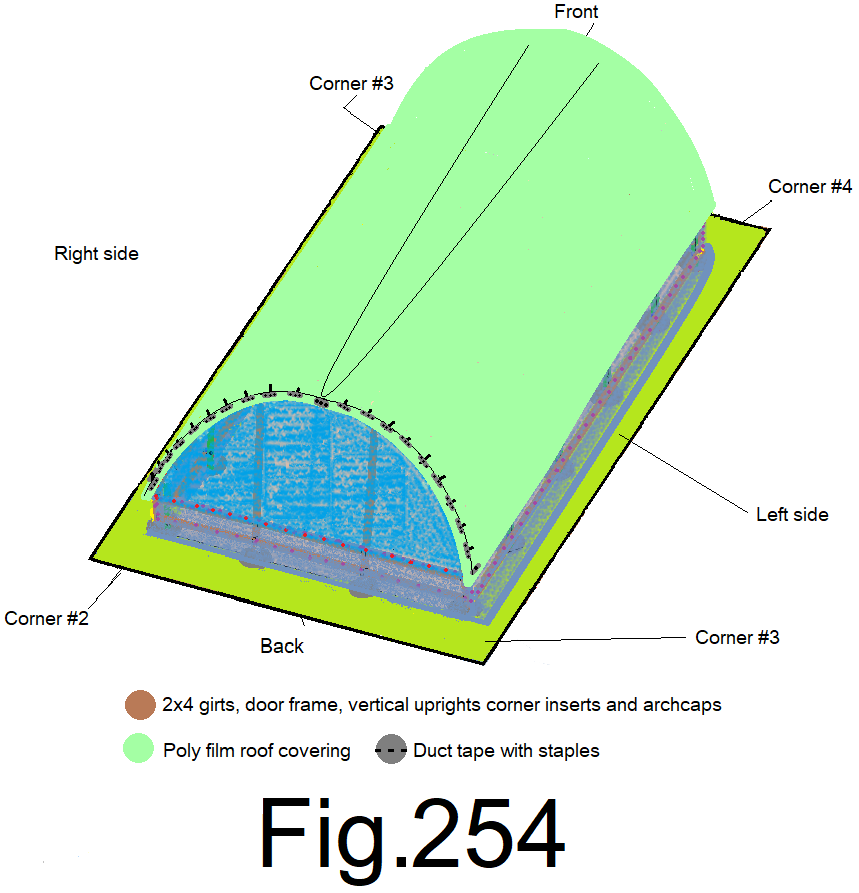
258) Starting at the top and working side to side, back and forth incrementally, at each mark, with one hand, tension…. (keep your eyes on the poly film that you already attached and keep the slight tension even, look at the poly film as you go, if you over tension it you will see rolling lines form) …the poly film straight back and down along the end wall. Staple the poly film to the side of the end wall cap through the duct tape at each location. One staple at the center, one staple on the right side and one staple on the left side…..and on to the next. Fig 254
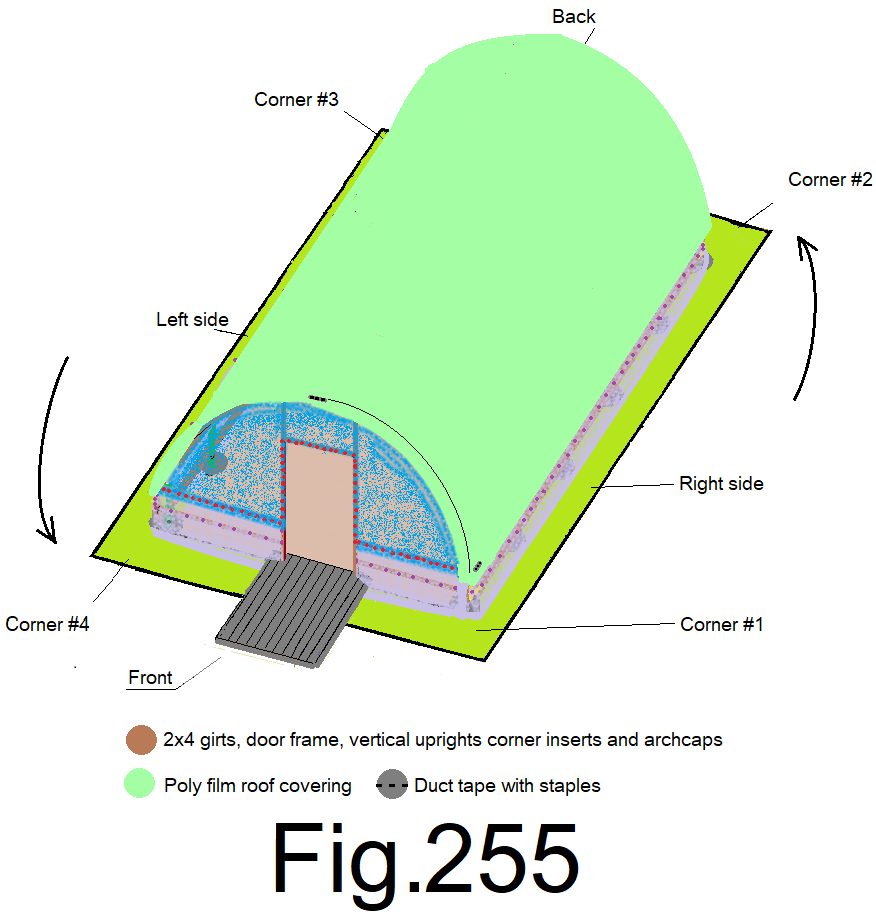
259) At the front end wall, at the right corner, gently fluff the poly film in an up and down motion and then gently tension the poly film straight down and slightly toward the front and mark a 6 in. line on the poly film where it passes over the top edge of the side girt. Relax the poly film and attach a 6 in. piece of duct tape onto the poly film just below the line. Gently tension the poly film straight down and slightly toward the front and secure it with one staple through the middle of the duct tape into the top side girt. Fig 255
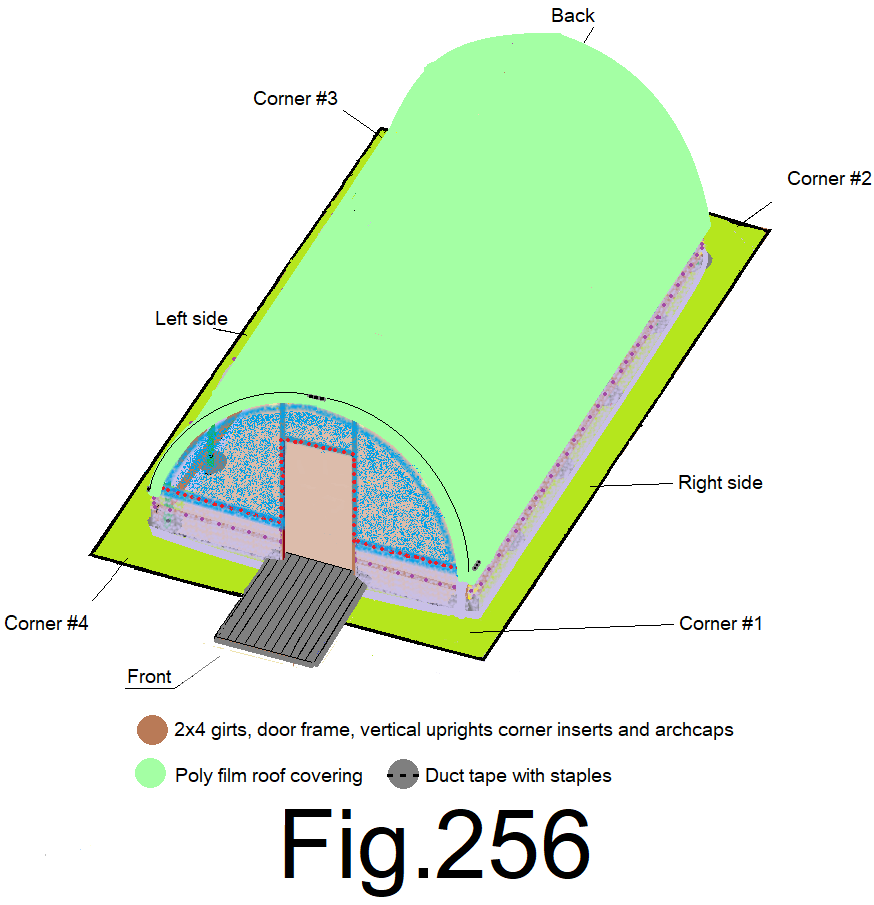
260) Repeat step 259), at the front left corner. Fig 256
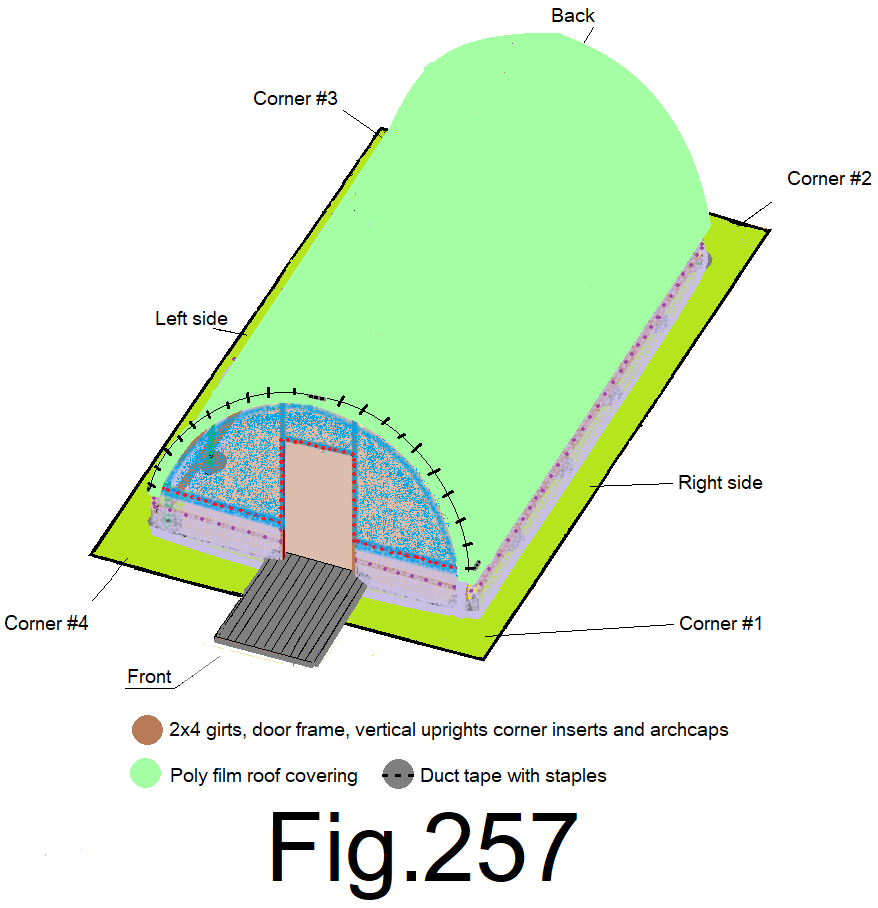
261) At the front end wall, start at the top center of the end wall cap, make a 6 in. cross mark on the poly film approximately every 1 ft. down along the end wall cap to the left corner. Repeat from the top to the right corner. Fig 257
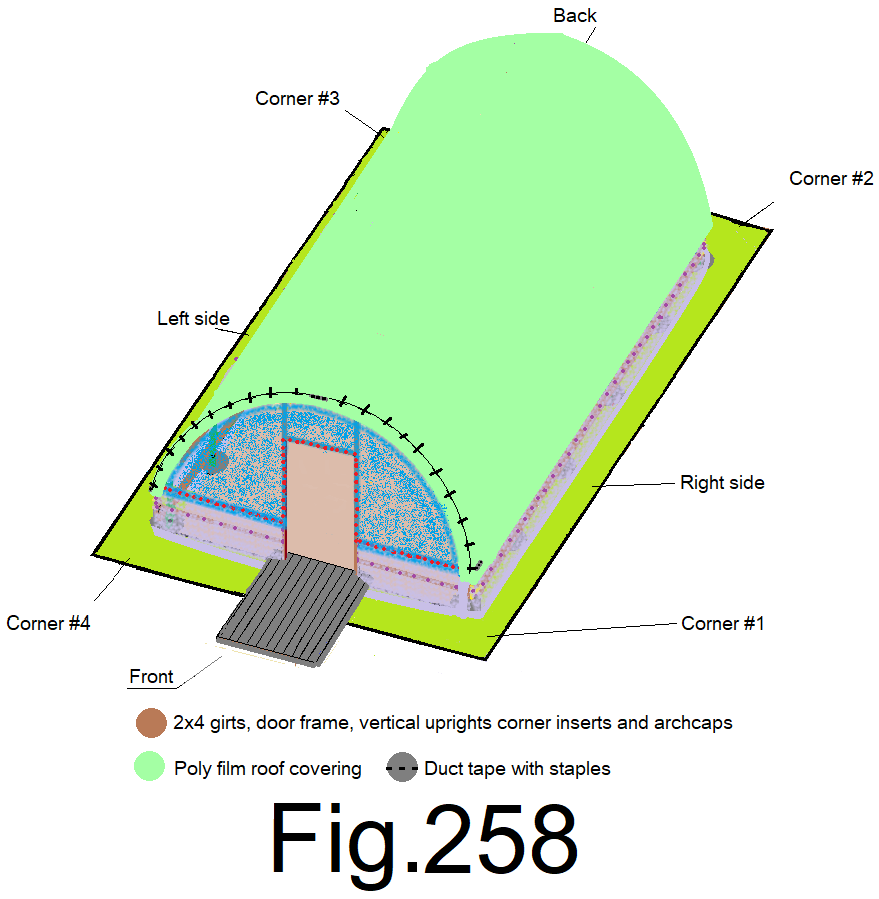
262) At each cross mark, with one hand, tension the poly film straight out and slightly down and mark a 6 in. line with a sharpie ink pen along the top outside edge of the end wall cap where the poly film bends over the outside corner of the end wall cap, relax the poly film. Repeat at every cross mark. Fig 258
263) Attach a 6 in. piece of duct tape to the poly film at each ink mark line, just outside of the line. Fig 259
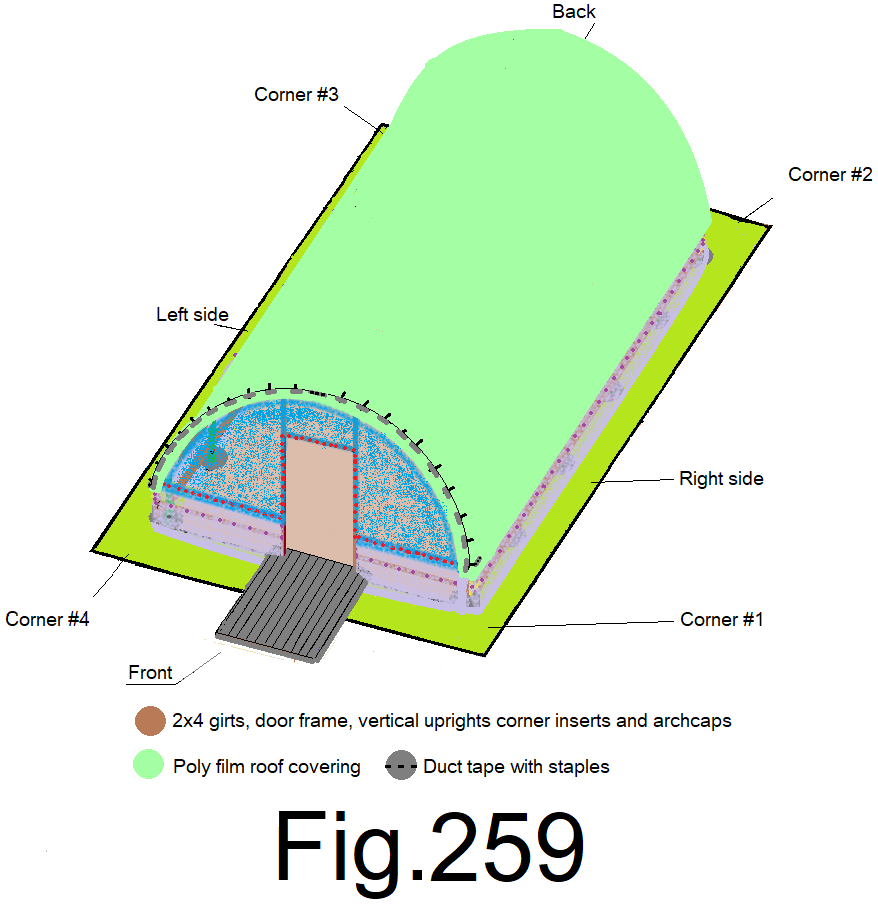
264) Starting at the top and working side to side, back and forth incrementally, at each cross mark, with one hand, tension… (tension evenly) …the poly film straight out and down. Staple the poly film to the side of the arch cap through the duct tape. One staple at the center of the tape, one staple on the right side of the tape and one staple on the left side of the tape. Fig 260
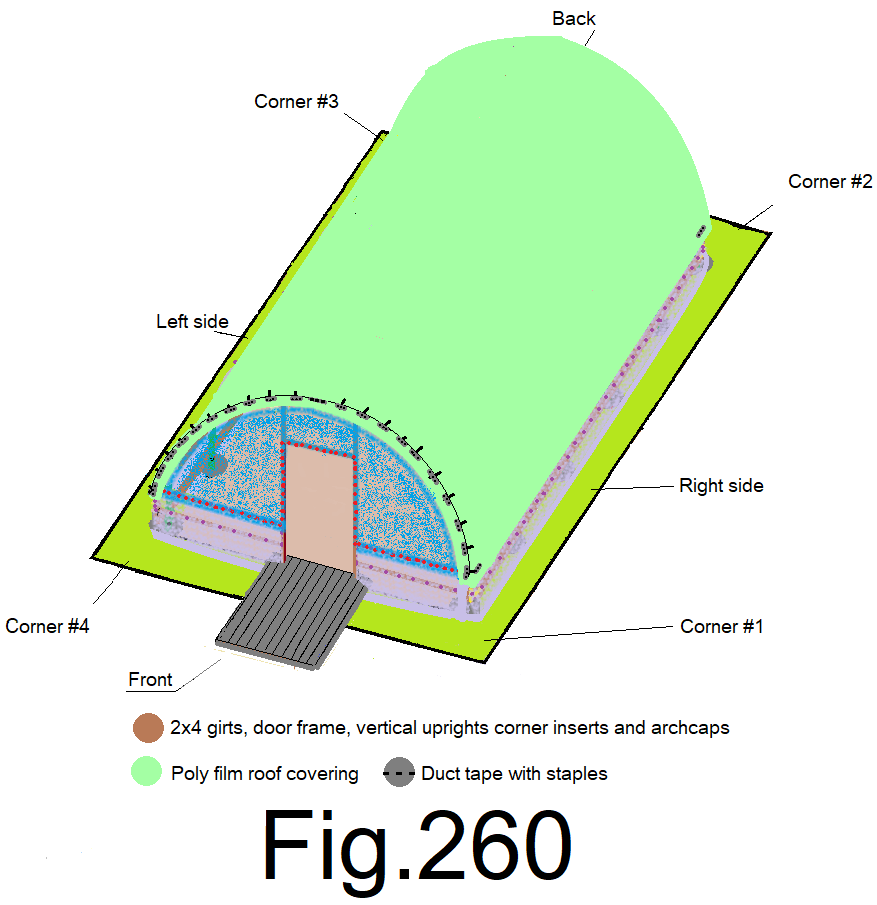
265) At the center of the right sidewall, gently tension the poly film straight down with one hand and with the other hand mark a 6 in. line on the poly film along the top edge of the top girt. Fig 261
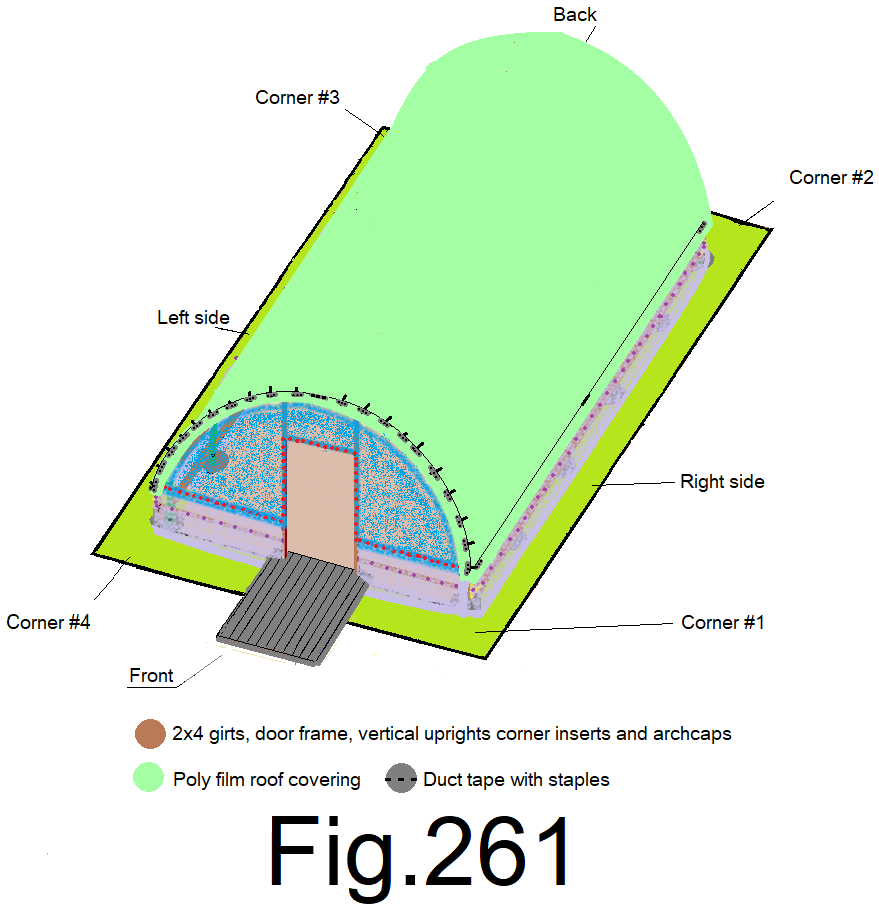
266) Let the poly film relax and attach a 6 in. piece of duct tape to the poly film just below the marked line. Tension the poly film with one hand and with the other hand staple through the tape to the sidewall girt. One staple in the middle of the tape, one staple on the right side of the tape, one staple on the left side of the tape. Fig 262

267) Repeat step 265) and 266) at the 2) quarter locations of the sidewall. Fig 263
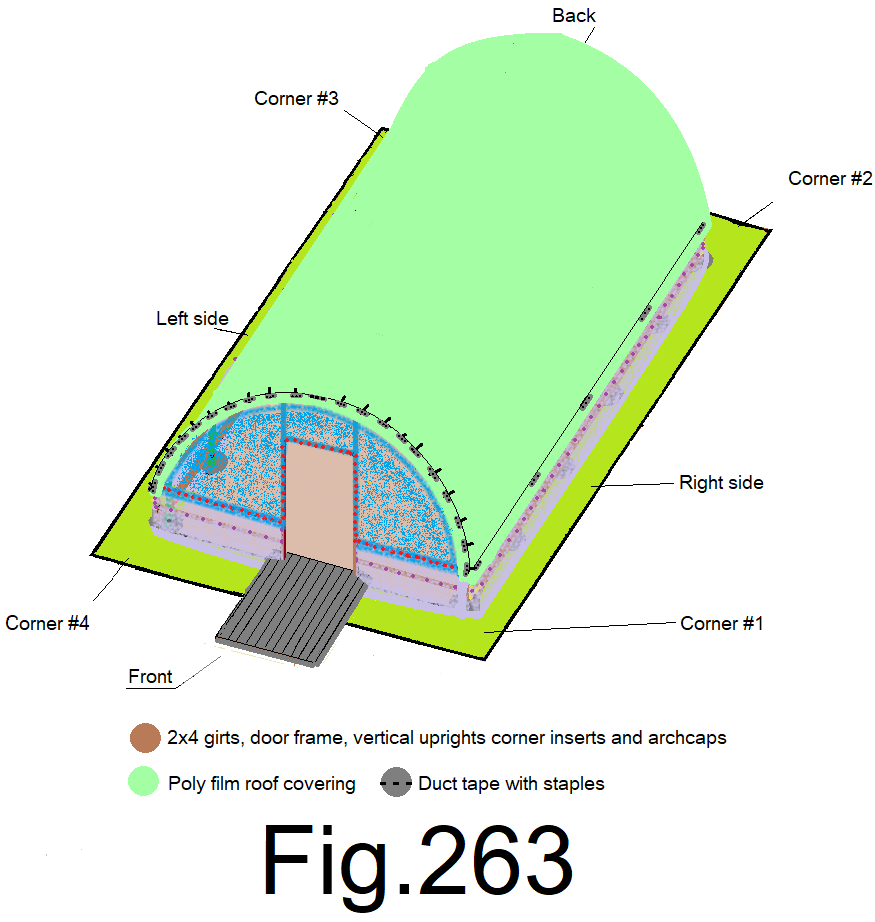
268) Repeat steps 265) and 266) at the 4) eighth locations of the sidewall. Fig 264
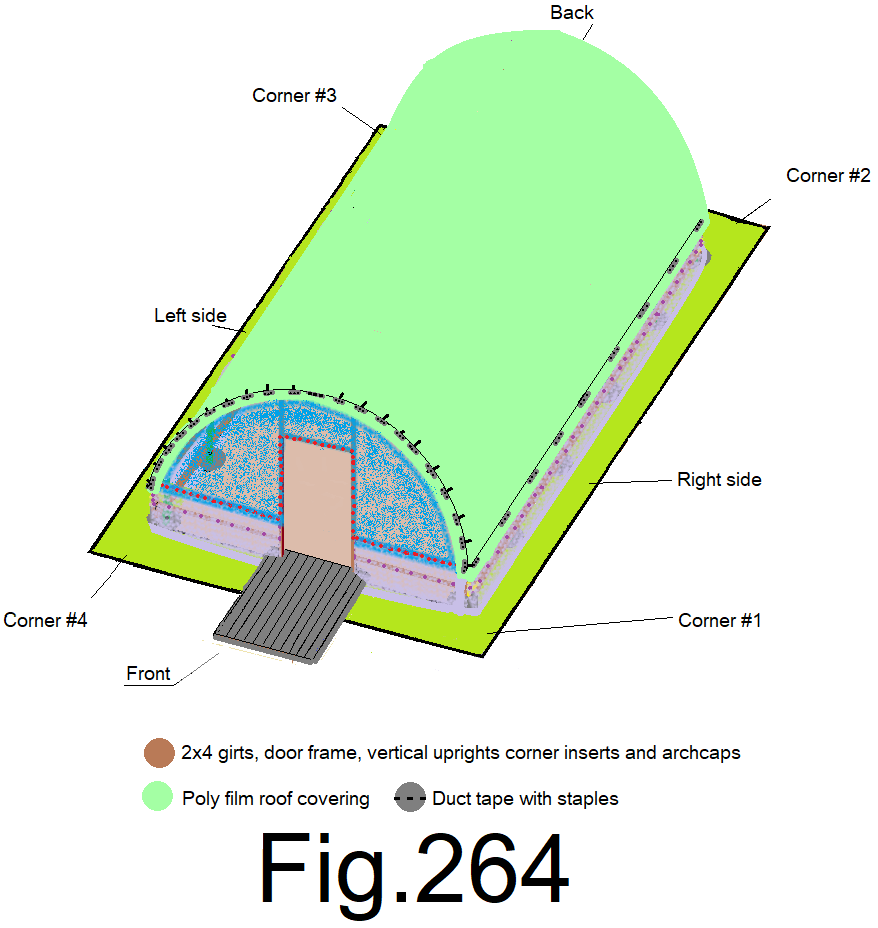
269) Repeat steps 265) and 266) at the 8) sixteenth locations of the sidewall. Fig 265
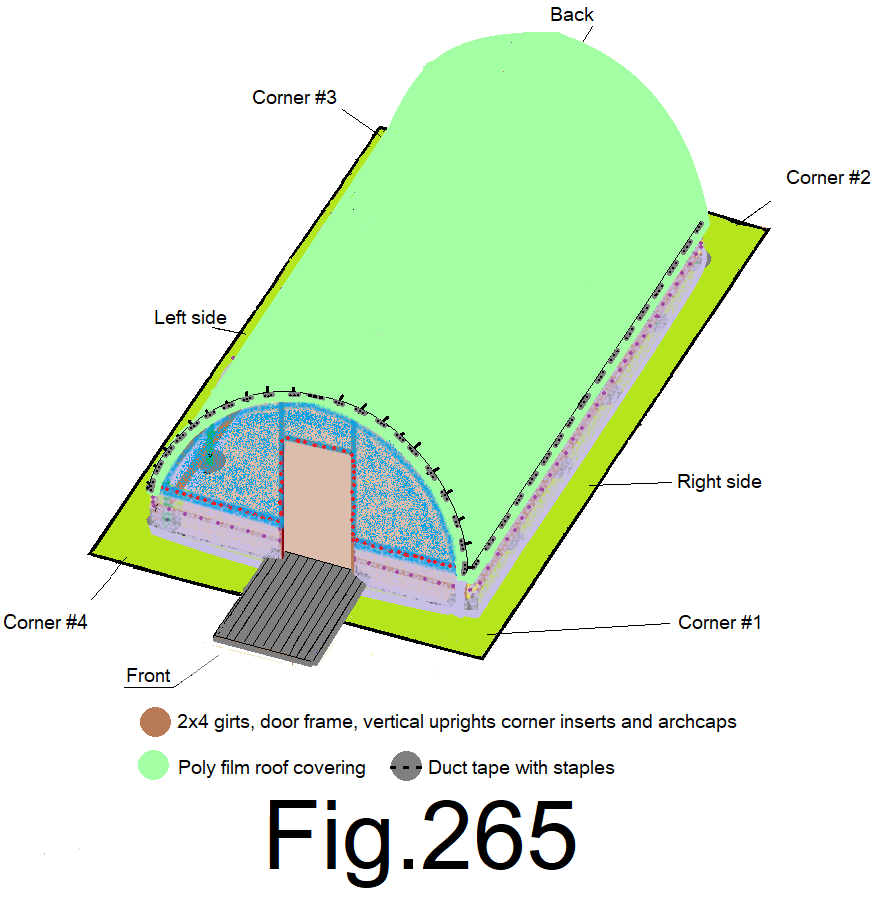
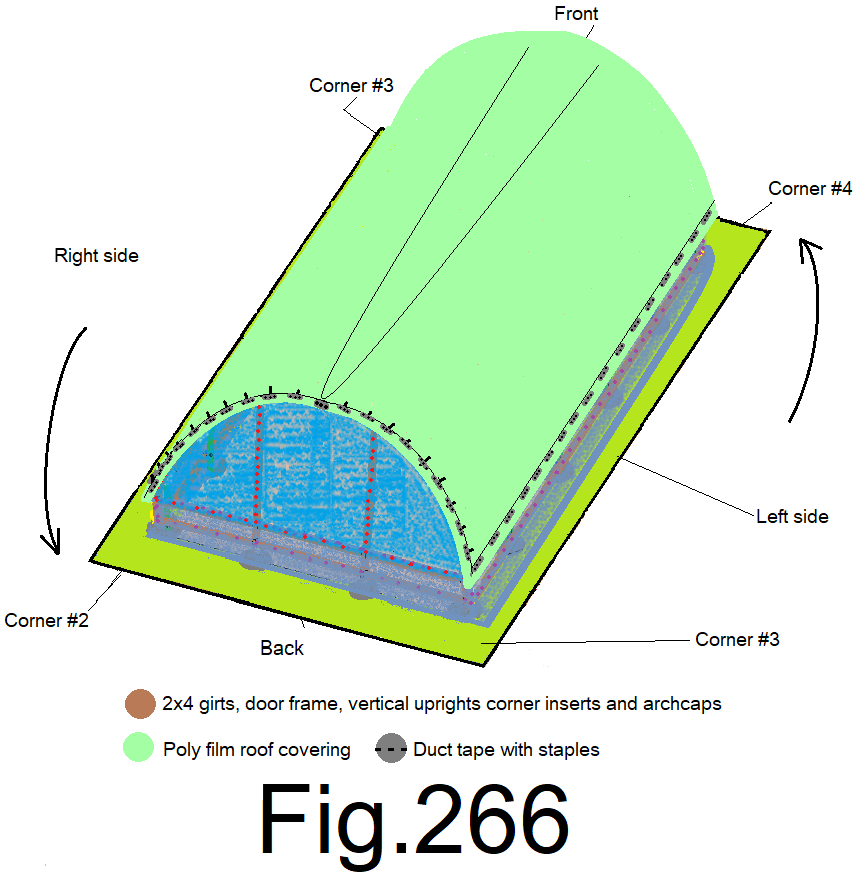
270) Repeat steps 265)-269) at the left sidewall. Fig 266
271) Install a 3 ft. wide by 6 ft. 8 in. tall screen door, according to the manufactures instructions. at the front door frame. Fig 267
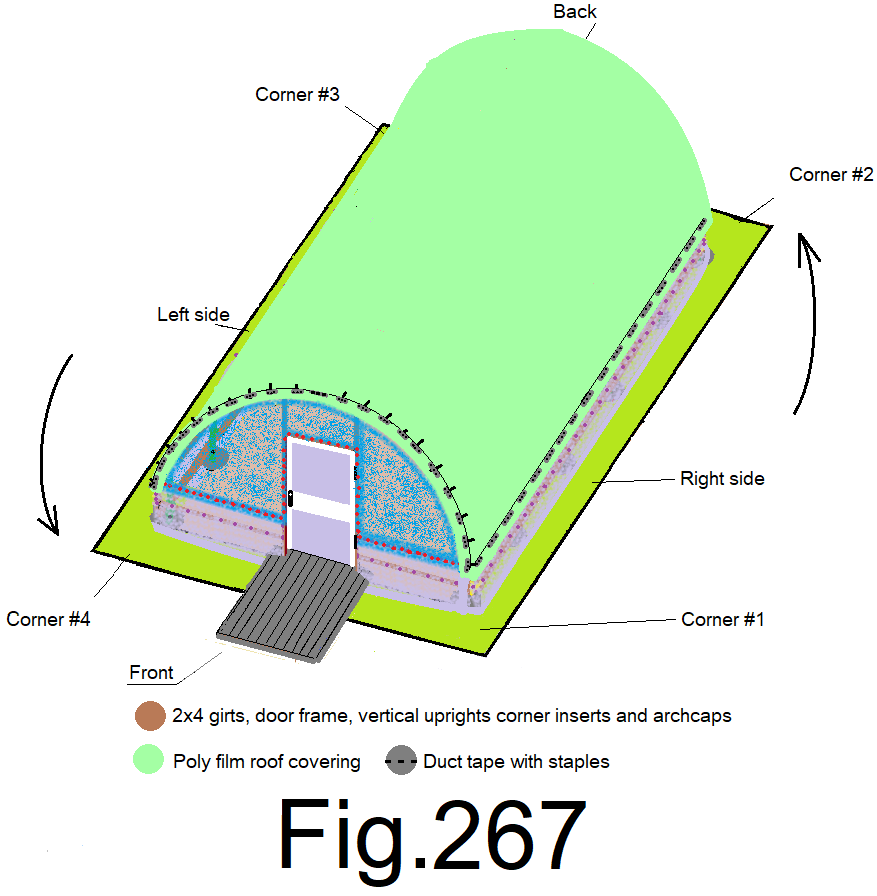
Unishack is complete, except where the screen meets the ground. One more step or two.
The screen bunches up near the corners and needs to be cut and detailed.
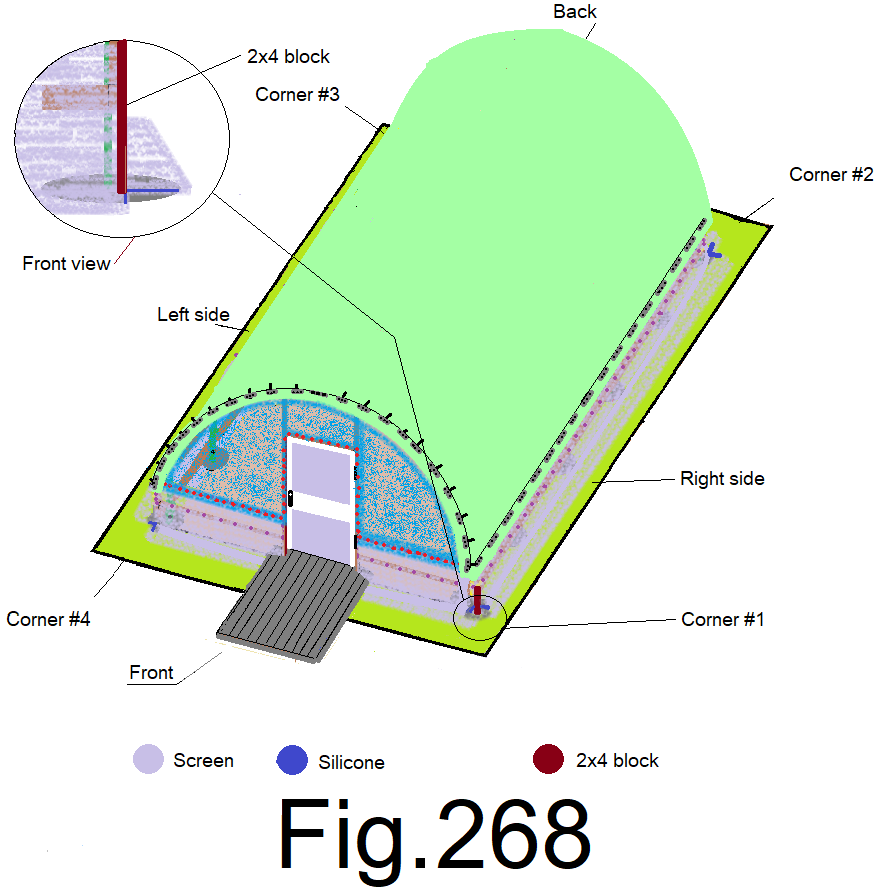
272) At the front right corner, position a 2 ft. 2×4 block vertically against the corner and slide it along the corner insert, straight down and plumb along the screen to the ground and hold the block down with one hand. Hold the excess screen straight up along the outside edge of the 2×4 block with the other. Cut the screen from the bottom of the block, up the block to the end of the screen. The excess screen should relax and lay flat on both sides of the corner, while the screened in corner should look level, plumb and square from the corner of the bottom side girt to the ground. Use the caulking gun with silicone; glue the screen to the concrete corner hole where the screen lays on the concrete. Repeat at the remaining three corners. Position the excess screen between the corners flat on the ground. Fig 268
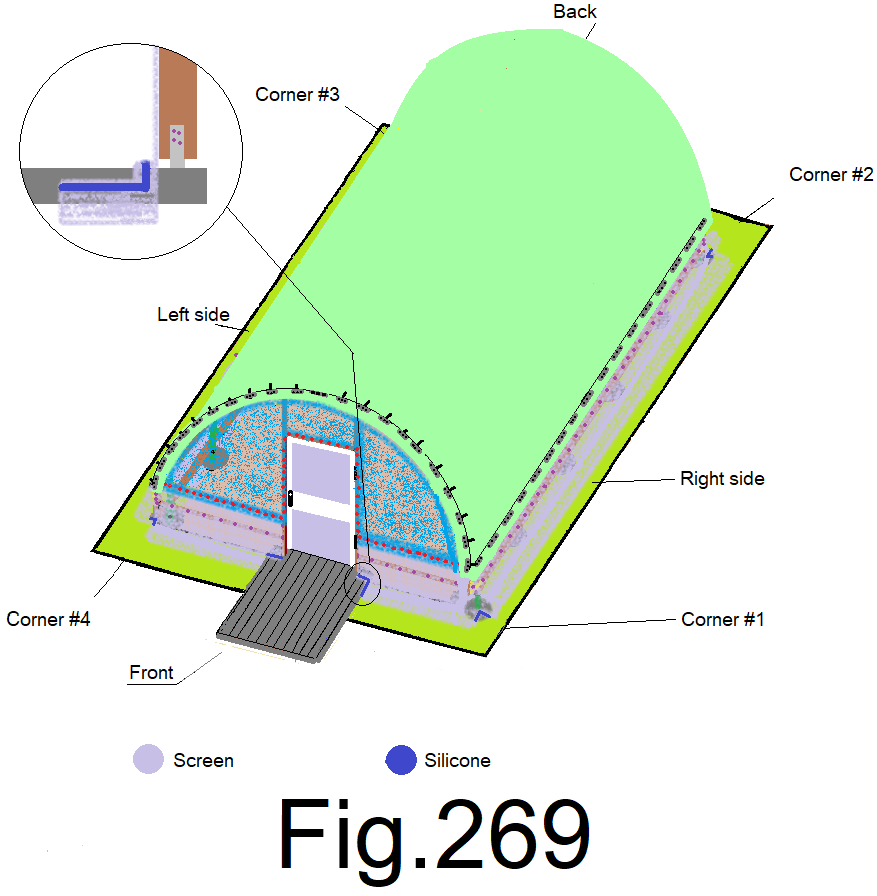
273) position the screen at both sides of the door straight down and straight out away from the front of the door frame and along the front wall. Cut the screen along the concrete landing leaving approximately 2 inches of screen lying flat on the concrete. Glue the screen to the top and sides of the concrete landing outside of both left and right sides of the door frame. Let the screen between the front door landing and both front corners lay flat on the ground. Fig 269
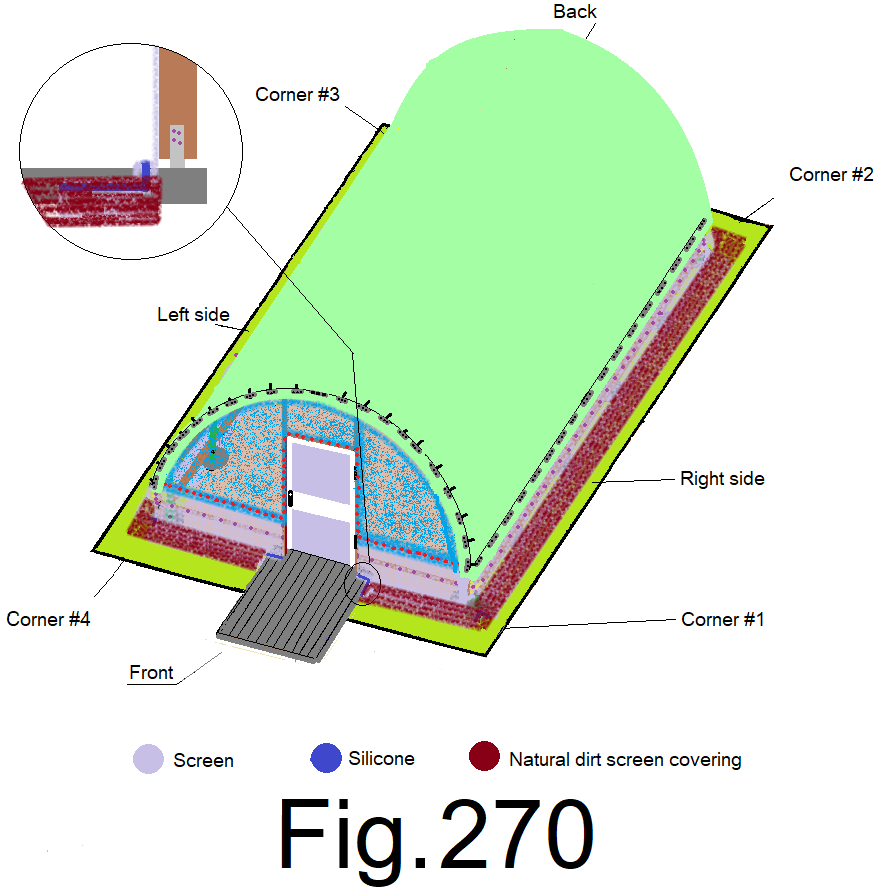
274) The excess screen along the sides and ends should be no more than 12 in. extra laying on the ground. If it is longer than that, trim it back to 12 in. Then, completely cover the excess screen that lays along the sides and ends with dirt or gravel. It should take about 15 cubic ft. of dirt at about 2 in. thick. Fig 270
Enjoy your JDPShack! Good Job!
© 2021